It’s the second day of our 12 days of HONA! Today we have a bright and festive design from @jemmaelizabethbeauty. This super cute tutorial uses our new advent- calendar-exclusive shade, Red Velvet Detail Paint. Don't worry If you haven't got the advent calendar, you can still follow along with your closest red detail paint.
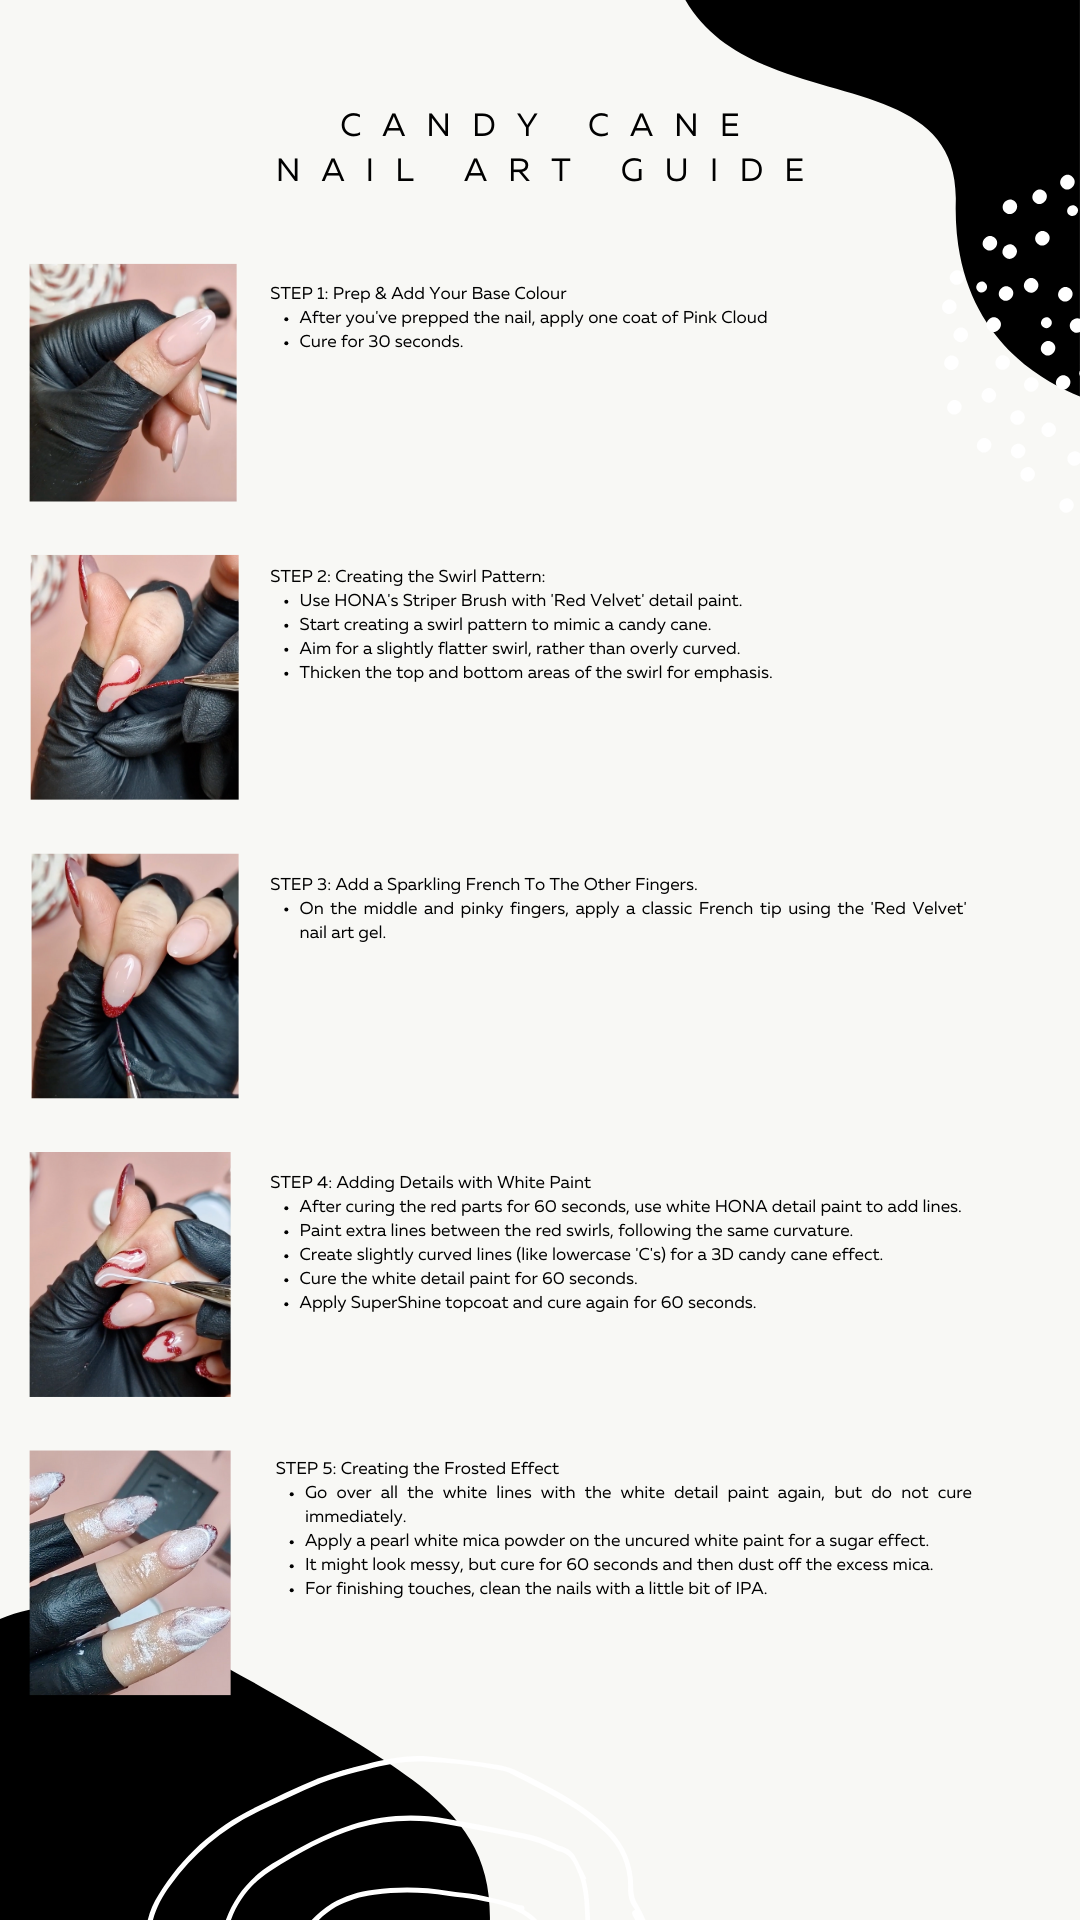
Application Guide
Video Transcript
Hi guys, come and watch me create these candy cane nails. First up, I'm going in with a layer of Pink Cloud and this is my fav go-to base for most nail art. And, the star of this nail tutorial is going to be this gorgeous new detail paint. It's called Red Velvet and it is a beautiful flash nail art gel. As you can see here it sparkles under any flash or light. Using the HONA’s Striper Brush. I'm just going to start to create this swirl pattern. I don't want to make it overly kind of curved and swirled, it's just a little bit of a flatter one to mimic a candy cane and I’m just going back in and just thickening up the top bottom areas of that swirl. Okay, so I'm going to leave this nail for now. And on my middle and pinky finger, I'm just doing a classic French using this nail art gel. I've tried to keep as much of this part in as possible and just sped it up so you can see how I do my French manicures. On the ring finger, I'm going to be creating a love heart, kind of made out of candy canes. So first off, I am just painting the top half of the love hearts, but just see how I'm not fully connecting it right in the middle of that heart. And next, I am just using the shape of the nail and just thickening in lines on either side, just to make this candy cane a little bit thicker. I have got almond nails on but you can definitely definitely still do this with a squared nail, you'll just still have those quarters. And as you can see here, again, just taking out those lines. And I'm starting to make the top hook of the actual candy cane and again, another French on that pink nail. So once you have completed the entire red part of this design, you're going to cure that in the lamp for 60 seconds. Using the White HONA detail paint, I'm now going to create extra lines in between those red swirls that we made earlier and following the same curvature as the red, and I am using a really small amounts of a brush so I can control the thickness of those lines. And, I'm also applying the lines on the candy cane as well. Try and make these lines slightly curved almost like little kind of lowercase C's and that is going to give the illusion of a more curved candy cane and slightly 3D candy cane as well. When you paint in these really tiny areas of detail. Just make sure you only have a small amount of that detail paint on your brush, cure for 60 seconds, apply our SuperShine top coats and cure that again for 60 seconds. Okay, so we're now going to go back in on this design and create some areas that are going to have a more frosted appearance. So I am just going over all those white lines we've painted previously and I'm also creating an extra white line underneath that red French. Once you've gone over all that white on all five nails, you are not going to cure. This step we're going to be using this uncured white detail paint to create a sugar defect. And for that, I am using this beautiful pearl white mica powder. I'm just using a curved cuticle brush it just to kind of scoop a little bit out and place it on top of that detail paint. Now it is going to get a little bit messy it's going to look a little bit messy it's going to look like it stuck to the entire nail like this. But do not panic cure that for a full 60 seconds. And then what you're going to do is dust off all of that excess mica and for that last little bit wipe over the nails with a little bit of IPA and that is this candy cane nail art look completed I hope you really enjoyed watching this and if you recreate this design don't forget to tag myself Gemma Elizabeth beauty and also home of nail art as well.